Missing Your Primary Remote? How to Regain Control of Your Garage
Are you asking yourself, “Can I reprogram a LiftMaster remote without the original master control?” after moving into a new house or losing your primary clicker? At Vision Overhead Doors, we see this scenario all the time when families take possession of a pre-owned home here in Enderby, only to realize they were handed a single, worn-out garage door remote—or worse, none at all. Being locked out of your own garage system can feel frustrating and even a bit alarming. Many homeowners assume that without the original “master” remote, they are entirely locked out of adding new devices or resetting the system’s security codes.
The good news is that you absolutely do not need the original remote to regain full access to your property. The actual authority over your garage door does not live in the handheld clickers; it lives inside the overhead motor unit itself. By accessing the main unit, you can easily wipe old codes and pair brand-new remotes to secure your property. If you need assistance navigating this process or require professional garage door opener repair in Enderby, our family-run team is always ready to help you get your system back on track.
Why the Overhead Motor is Your Ultimate Master Control
To understand how to reprogram without master control remotes, it helps to understand how modern garage door openers actually communicate. Since 1993, LiftMaster and similar major brands have utilized a smart, rolling-code technology managed entirely by the motor hanging from your garage ceiling. The handheld remotes you keep in your vehicle are nothing more than simple transmitters. They send a radio signal, but they do not make the rules.
The Role of the Logic Board
Inside the overhead motor housing is a critical component known as the logic board. You can think of the logic board as the brain of your garage door system. This board contains the radio receiver and the memory chip that stores the authorized security codes. When you press a button on a programmed remote, it sends a specific code. The logic board receives that code, checks its memory to see if the code is authorized, and if it finds a match, it triggers the motor to open or close the door.
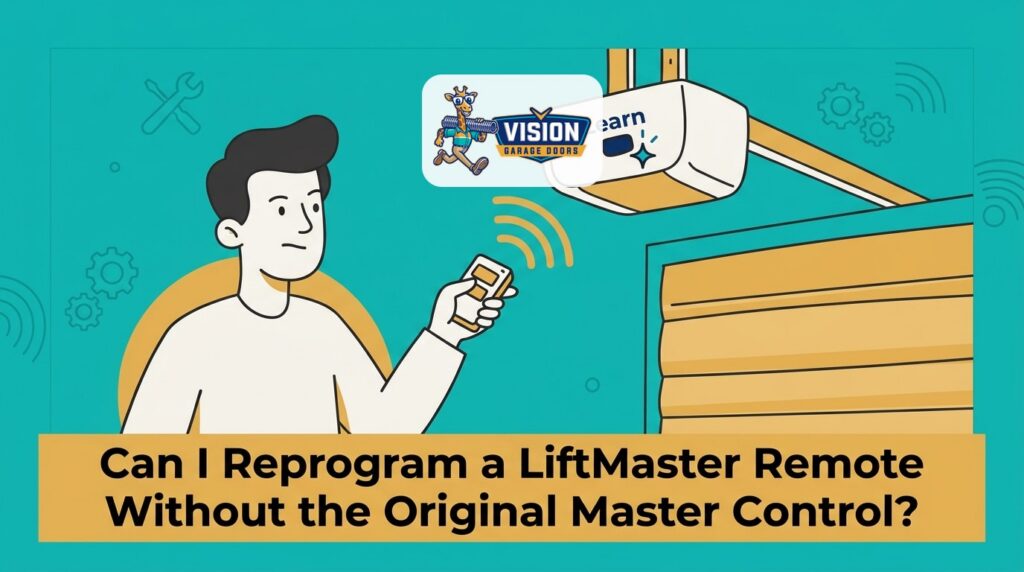
Because the logic board holds all the memory, the true “master control” is the LiftMaster logic board learn button located directly on that overhead unit. The remotes themselves do not store information about other remotes, nor do they have the power to authorize or block new devices. By interacting directly with the learn button on the logic board, you bypass the need for any existing remotes. This design ensures that if you drop a remote on a local Enderby trail, or if a previous homeowner forgets to hand one over, you are never permanently locked out of your own garage.
Security First: Erasing Previous Remote Codes
Before you rush to program a new remote, there is a crucial security step every homeowner must take, especially if you have just purchased a pre-owned home or recently lost a remote in a public place. Leaving old codes active in the logic board’s memory is a significant security vulnerability. Anyone who finds that lost remote, or any previous owner who kept a spare, could potentially open your garage door and access your home.
Why Wiping the Memory is Non-Negotiable
When you reprogram without master control devices, your first priority is establishing a clean slate. Our team at Vision Overhead Doors always tells customers that wiping the memory ensures every single remote, keypad, and built-in vehicle button (like HomeLink) previously paired to the system is instantly deactivated. It is the garage door equivalent of changing the locks on your front door.
Here is how to properly clear the memory from your LiftMaster opener:
- Locate a sturdy stepladder: Position it securely under the overhead garage door motor. Ensure the area is well-lit and you have clear access to the back or side panel of the unit.
- Remove the light lens cover: Gently unclip or unscrew the plastic light cover on the motor unit to expose the internal logic board panel.
- Locate the learn button: Find the brightly colored learn button and the small LED indicator light positioned right next to it.
- Press and hold the learn button: Firmly press the button and hold it down. The LED indicator light will turn on.
- Wait for the LED to extinguish: Keep holding the button for approximately six seconds until the LED light completely turns off.
- Release the button: Once the light is out, the memory is wiped. Test any old remotes you still have; they should no longer activate the door.
By completing this sequence, you have successfully secured your garage. Now, you are ready to introduce your new, trusted remotes to the system.
Matching Your New Remote: The Importance of Learn Button Colors
Not all LiftMaster remotes work with all LiftMaster openers. Over the decades, the manufacturer has updated its radio frequencies and security encryption protocols to stay ahead of code-grabbing thieves. To make it easier for homeowners and technicians to identify which technology a specific motor uses, LiftMaster color-coded the learn buttons on the logic boards.
Decoding the LiftMaster Color System
Before you purchase a replacement remote or attempt to program a universal clicker, you must check the color of your specific LiftMaster logic board learn button. If you buy a remote that transmits on a 315 MHz frequency, but your motor’s learn button requires a 390 MHz Security+ 2.0 signal, the two devices will never communicate, no matter how many times you try to pair them.
| Learn Button Color | Manufacturing Era | Radio Frequency / Technology |
|---|---|---|
| Yellow | 2011 to Present | 310, 315, and 390 MHz (Security+ 2.0) |
| Purple (or Brown) | 2005 to 2014 | 315 MHz (Security+) |
| Red (or Orange) | 1997 to 2005 | 390 MHz (Security+) |
| Green | 1993 to 1997 | 390 MHz (Billion Code) |
To find your color, simply look at the button you used to clear the memory in the previous step. The button itself, and often the antenna wire hanging down from the unit, will match one of these four colors. When shopping for a new remote, look for packaging that explicitly states compatibility with your specific learn button color. Many modern universal remotes can switch between these frequencies, but you will need to configure the remote according to its manual before it can talk to your motor.

Step-by-Step: Pairing Your New LiftMaster Remote
Once you have cleared the old codes and verified that your new remote is compatible with your learn button color, you are ready to pair the devices. The process to reprogram without master control remotes is fast and straightforward, but timing is essential. The logic board only stays in “pairing mode” for a brief window.
The Pairing Sequence
Follow these precise steps to sync your new remote to the overhead motor. If you are also replacing worn-out hardware or dealing with mechanical tracking issues during this process, you might consider looking into Armstrong garage door opener repair to ensure the entire system runs smoothly.
- Prepare your new remote: Ensure the battery is installed correctly. If you are using a universal remote, follow its specific instructions to pre-set it to your motor’s color code before proceeding.
- Press and immediately release the learn button: Reach up to the overhead motor and quickly press and release the learn button. Do not hold it down. If you hold it for too long, you will accidentally wipe the memory again. The LED indicator next to the button will light up steadily.
- Act within 30 seconds: The logic board is now actively listening for a new radio signal. You have exactly 30 seconds to complete the next step.
- Press the button on your remote: Firmly press and hold the button on your new handheld remote that you wish to use for opening the door.
- Watch for the confirmation: Keep holding the remote button until you see the overhead motor’s main light bulbs flash once. If your motor does not have light bulbs installed, listen closely—you will hear two distinct internal “clicks” from the logic board relay.
- Release and test: Release the remote button. Wait a few seconds, then press it again. Your garage door should now activate and begin to move.
Common Mistakes During the Pairing Sequence
The most frequent mistake we see homeowners make is treating the pairing step like the wiping step. Remember: wiping requires holding the button for six seconds, while pairing requires a quick, half-second tap. If you hold the button during pairing, the motor will ignore the remote and delete everything in its memory instead. If the door does not respond after you see the lights flash, ensure you are not standing too close to the motor, as being within inches of the antenna can sometimes overwhelm the receiver.
Troubleshooting Fails: Cold Weather Battery Drain vs. Logic Board Issues
Sometimes, you follow the instructions perfectly, match the learn button color, and tap the buttons at the right time, but the remote still refuses to pair. Before you assume the motor is broken, it is vital to consider the environment. In our years of servicing local homes, we’ve found that environmental factors frequently masquerade as hardware failures.
Diagnosing Cold-Weather Battery Failures
Enderby BC winter temperatures can be unforgiving on small electronics. Garage door remotes typically rely on small 3-volt lithium coin cell batteries (like the CR2032). When these batteries are exposed to extreme cold—such as being left overnight in an unheated vehicle sitting in the driveway—their internal chemical reactions slow down drastically. This causes a sudden, steep drop in voltage.
A freezing cold battery might still have enough power to light up the tiny LED on the remote itself, giving you the false impression that the remote is functioning perfectly. However, it may not have the necessary voltage to broadcast a strong radio frequency signal through the insulated walls of your garage to reach the LiftMaster logic board learn button.
If you are struggling to pair a remote during the winter months, bring the remote inside your heated house for an hour. Let the battery return to room temperature, or replace it entirely with a fresh, warm battery from the store. Attempt the pairing process again. Often, this simple temperature correction resolves what appears to be a complex programming failure. If you rule out the battery and the door still struggles to operate mechanically in the cold, it may be time to seek affordable opener repair in Vernon to check the motor’s gear and sprocket assembly.
When to Stop Troubleshooting and Call a Local Professional
DIY troubleshooting is an excellent way to save time, but there is a distinct line between programming a remote and dealing with high-voltage electrical failures. If you have wiped the memory, confirmed compatibility, used a fresh battery, and the system still refuses to cooperate, the problem likely lies deeper within the motor unit.
Identifying Hardware Failure Symptoms
The logic board is a sensitive piece of electronic equipment. Over time, it can be damaged by nearby lightning strikes, neighborhood power surges, or simply years of continuous use. Our technicians frequently spot a failing logic board based on a few telltale symptoms:
- The learn button LED does not light up: When you press the button to pair or wipe, the small indicator light remains completely dark, signaling a lack of power or a dead circuit.
- Erratic flashing lights: The main overhead lights or the diagnostic LED blink in specific patterns (e.g., five flashes in a row), which are error codes indicating internal board failure.
- Memory amnesia: You successfully program the remote, it works for a few hours, and then the motor “forgets” the remote by the next morning.
If you encounter these issues, it is time to stop pressing buttons. Never attempt to remove the logic board housing or touch the internal motor capacitors, as they hold dangerous electrical charges even when unplugged. If you need to troubleshoot a garage door remote that is not working due to internal board failure, rely on professional support. At Vision Overhead Doors, our expert knowledge and fast local response mean you never have to deal with a broken system alone. If you get stuck during the DIY process or suspect a fried logic board, our family-business safety net is just a quick call away.
Frequently Asked Questions About LiftMaster Remote Programming
Homeowners frequently encounter specific hurdles when trying to reprogram without master control access. Below are direct answers to the most common questions regarding LiftMaster systems and overhead logic boards.
How do I program a LiftMaster garage door opener without a remote?
You can program it by accessing the Learn button directly on the overhead motor unit, bypassing the need for any existing remotes. Simply press and release the learn button, then press the button on your new remote within 30 seconds. Once the overhead lights flash or the unit clicks twice, the new remote is successfully paired to the system.
Where is the learn button on a LiftMaster?
The Learn button is located on the back or side panel of the overhead motor unit suspended from your garage ceiling. You typically need to remove the plastic light lens cover to access it. Once exposed, look for a brightly colored square or round button that will be yellow, purple, red/orange, or green, depending on the manufacturing year.
Can you program a universal remote to a LiftMaster?
Yes, most modern universal remote models are highly compatible with LiftMaster openers. However, you cannot simply point and click; you must follow the universal remote’s specific instruction manual to configure it to match the exact color of your LiftMaster’s learn button before attempting to pair them.
How do I clear the memory on my LiftMaster garage door opener?
To completely clear memory, press and hold the learn button on the overhead unit until the small indicator LED turns off, which takes about 6 seconds. This action securely deletes all previously programmed remotes, built-in car buttons, and exterior keypads from the system’s logic board memory.
What happens if my learn button doesn’t light up when pressed?
If the LED does not illuminate when you press the button, the unit may not be receiving power from the outlet, or the internal logic board could be failing. Check the power source and the circuit breaker first. If the power is on but the button remains unresponsive, contact a local garage door professional for a thorough diagnostic check.
Secure Your Garage Today with Expert Support
Taking control of your garage door security shouldn’t be a source of stress. By clearing out old codes and pairing a new remote directly to the overhead logic board, you can quickly secure your new home and ensure reliable daily access. However, if you encounter stubborn logic board issues, erratic behavior, or power failures, you do not have to figure it out alone. Reaching out to Vision Overhead Doors for professional emergency garage door services provides a reliable safety net, ensuring your home remains secure and your daily routine stays uninterrupted.